How to Draw Simba from The Lion King, is an easy step by step drawing tutorial for kids. Follow the tutorial and learn How to Draw Simba from The Lion King.
Draw Simba
[ez-toc]
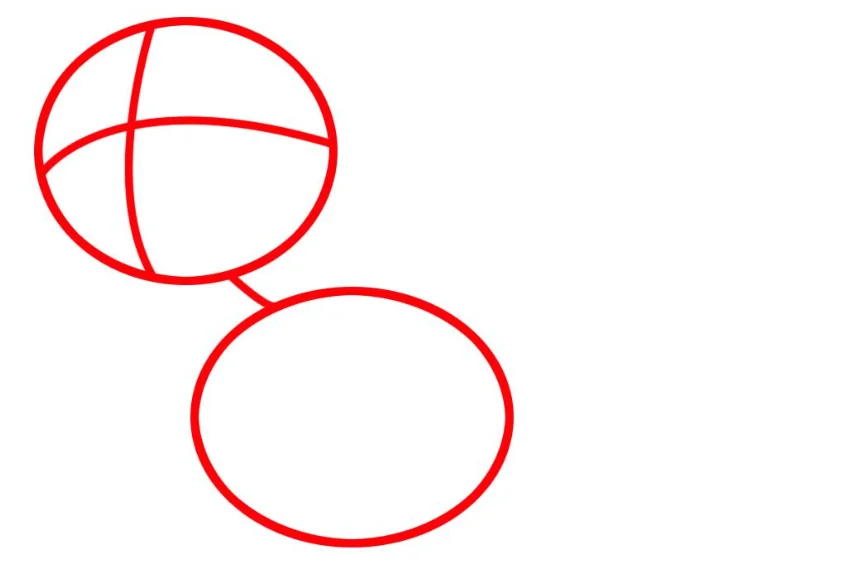
Step 1.
Start by making a lion stick figure. Make two shapes, one for the head and the other for his body. Draw a connecting neckline and then sketch in the facial guides.

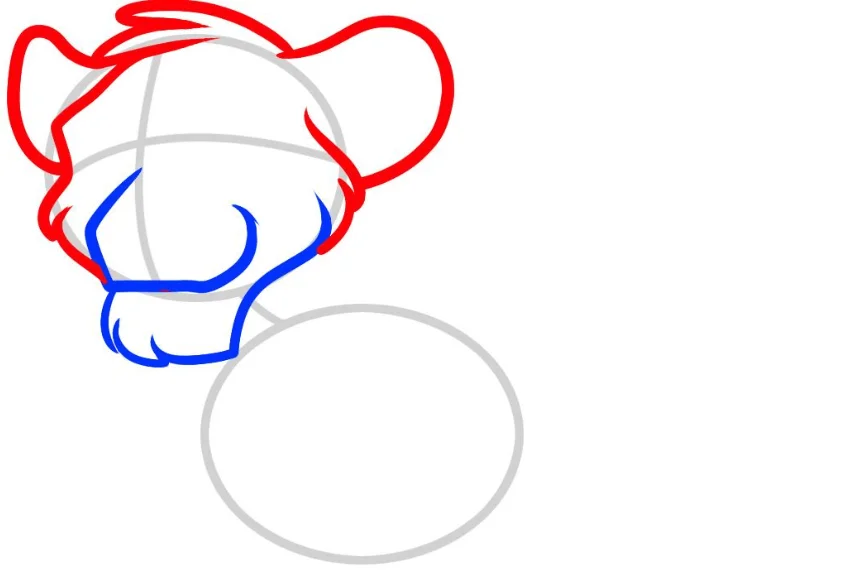
Step 2.
Using the guides you made in step one, begin drawing the snout, as well as the jawline and chin. Be sure that Simba has some long chin hair.

Step 3.
Continue to sketch out Simba’s head starting with the hair cheeks, and then draw the brow arch, as well as the top of his head. You all know how Simba takes pride in his mane, be sure to draw in some fuzz for it. Make the shapes for the ears and then move along to step four.

Step 4.
Now that his blocky head is all drawn in, you can sketch in the brow, eyeballs, color in the pupils and then draw the nose, nostrils, and markings on his face. To end this step you will also have to draw in the ear detailing as well as a sketch in some whiskers.

Step 5.
You are almost dining guys so hang on a little longer. When you start sketching out Simba’s body be sure to use the long lining to create a fluffy look especially on his chest. Draw in his big paws, and then move to step six.

Step 6.
Draw the other front leg as well as the paw and all the toes.

Step 7.
Draw in the back part of Simba’s body as well as his hind leg and back paw. Be sure to draw the toes rounded and then move along to step eight when you are done.

Step 8.
Finish Simba off by drawing his long tail as well as the tuft at the end of his tail. Draw in the markings on his lion body and you are ready to clean up the drawing.

Step 9.
Here is the finished line art when you are all done. You can color Simba in and even draw him next to Nala.

Learn also:
This post was created with our nice and easy submission form. Create your post!


One Comment