How to Draw Billie Eilish? This an easy and step by step drawing tutorial. In this tutorial, we will learn in 8 steps How to Draw Billie Eilish.
Draw Billie Eilish
Step 1.
We will begin with some guidelines and one shape for the head guide.
 Step 2.
Starting on the right-hand side, begin drawing Billie’s hair which is long and slightly wavy. The lining of her face is also there, but a little hidden within her hair. 
Step 3.
Next, stay on the right until you draw out the top part of her head and hair in. The hair sort of flares out a bit and when that is done you can get started withdrawing her hair on the left. Notice the part in her hair and the left side is a bit more detailed and layered.

Step 4.
Sketch in some detailing and definition to her hair on the right as well as more length.

Step 5.
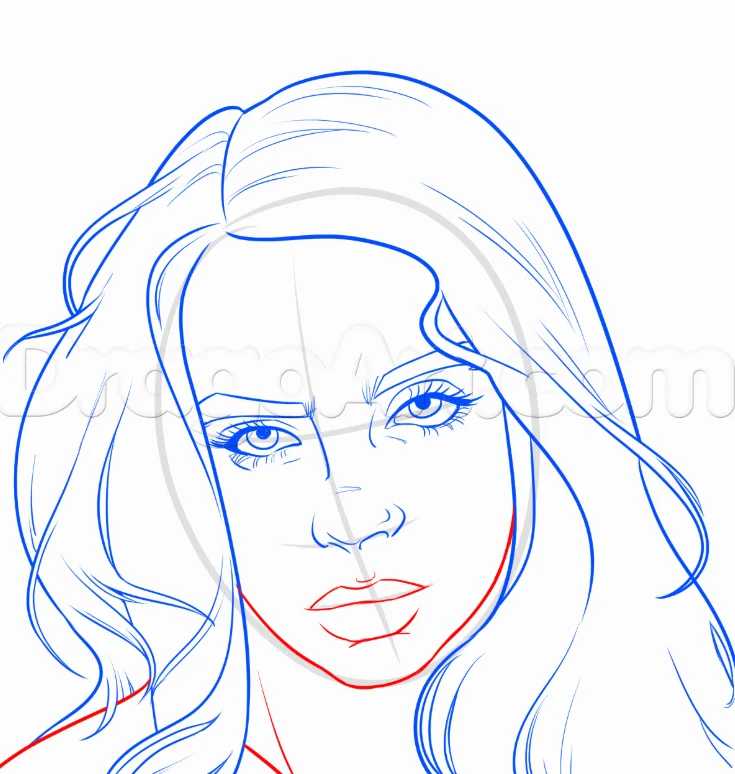
Start using the facial guidelines to draw in her face starting with the eyebrows. They should be kind of thick. Sketch in some of the nose shape as well as the nose tip.

Step 6.
Go ahead and draw in the shapes of her pretty eyes. The upper lid lines should be a bit bold or thick. The lower lids are lighter but get darker at the corners. Sketch in her lashes and then her actual eyeballs. Add some wrinkling or crease lines under the eyes and sketch in more of her nose. Don’t forget to draw the crease line for the lids.

Step 7.
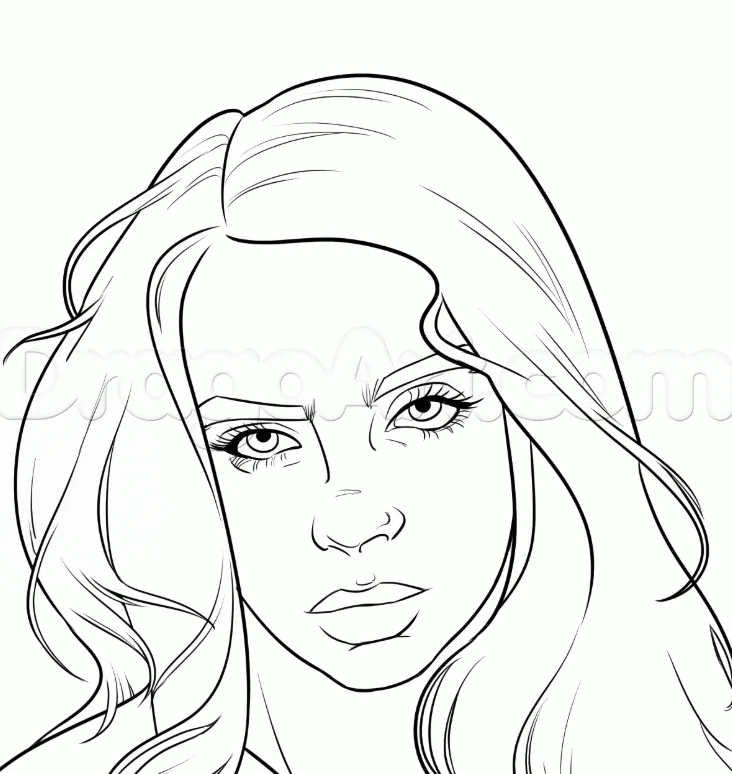
This is the last drawing step. All you have to do is draw the shape of her face and then draw in her full lips. Add the indent under the bottom lip for the chin formation and then draw some of her left shoulders. Also, add a neck definition line as well. Erase the mistakes you might have made along with the guides.

Step 8.
Here is Billie Eilish when you are all done. Now you can have fun coloring her in.

Learn also:
- How to Draw Tiny Rick From Rick and Morty, 9 Steps
- How to Draw Mickey Mouse For Kids, Easy Tutorial, 7 Steps
- How to Draw Anime Legs, Easy Drawing Tutorial, 16 Steps
This post was created with our nice and easy submission form. Create your post!


 Step 2.


