How to Draw a Disney Character Head? Now that you know the anatomy, let’s practice the proportions in a more practical way. We’re going to draw a generic Disney princess with the universal proportions I’ve just described.
How to Draw a Disney Character Head
Step 1
Draw a circle (the sphere of the cranium). Mark its perpendicular diameters.
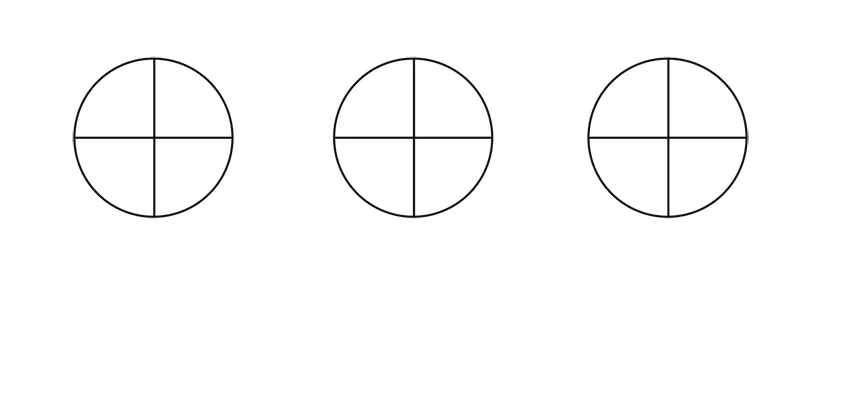
Step 2
Divide the lower half into thirds to mark the area of the eyes. The 1/3 point will be the top of the eyes, and 2/3 the bottom. Try to see these face parts in your mind, and you’ll keep it from becoming a confusing mess of guidelines.
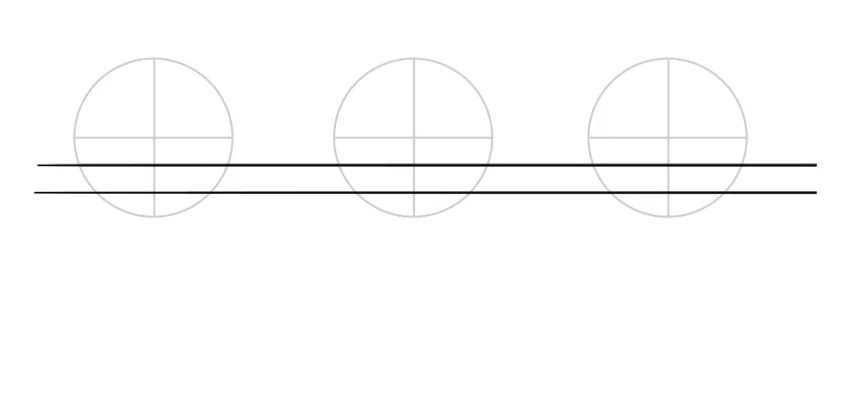
Step 3
Measure the length of half of the circle, and then draw it right under the 2/3 section (under the eyes).
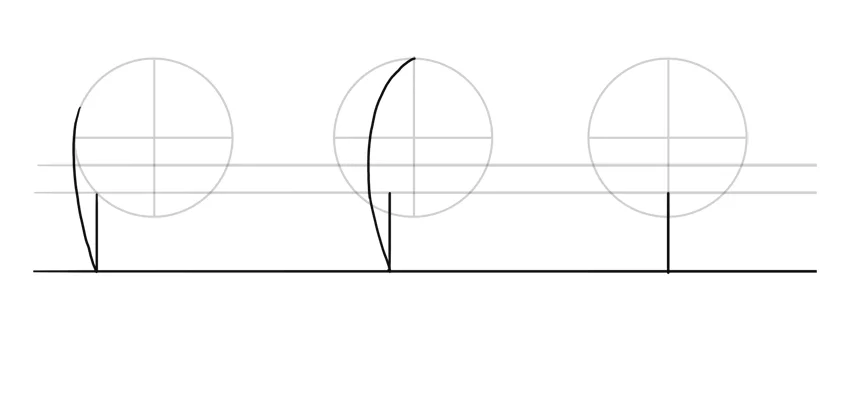
Step 4
Divide this area into thirds to create some guidelines for the elements of the face.

Step 5
Draw a line across the eye area. The higher it is, the higher the outer corner of the eye will be.
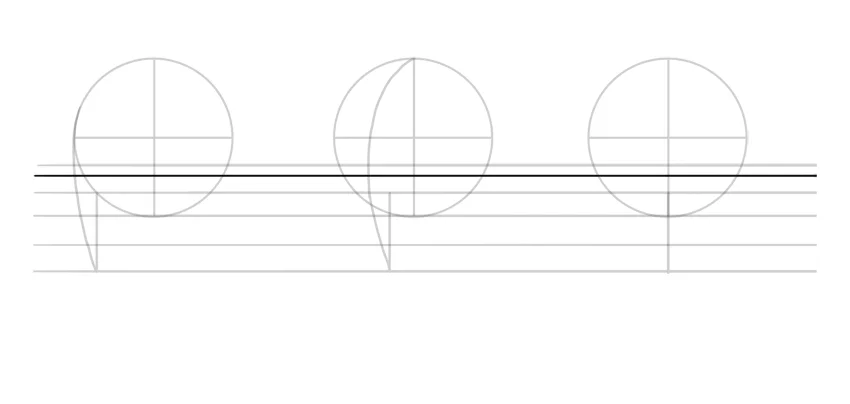
Step 6
Sketch the outline of the face. If you can imagine the position of the cheeks and chin, you can outline them now—if not, just draw a general outline that you will adjust later.
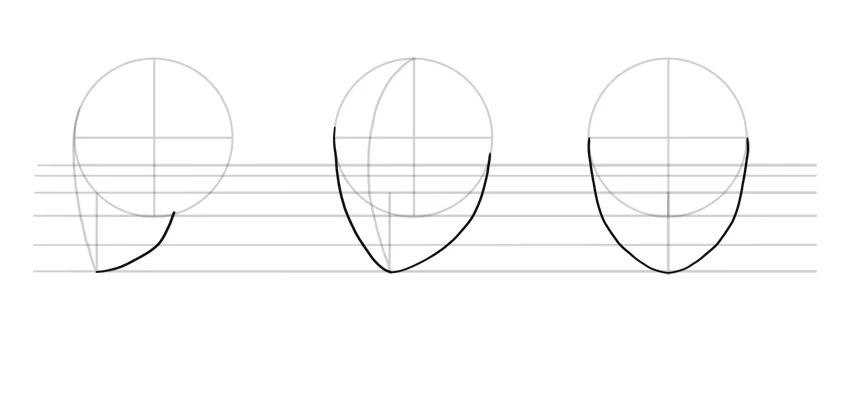
Step 7
Mark the distance of the eyes—there should be space for three of them. Leave a thin band of empty space on both sides of the head.
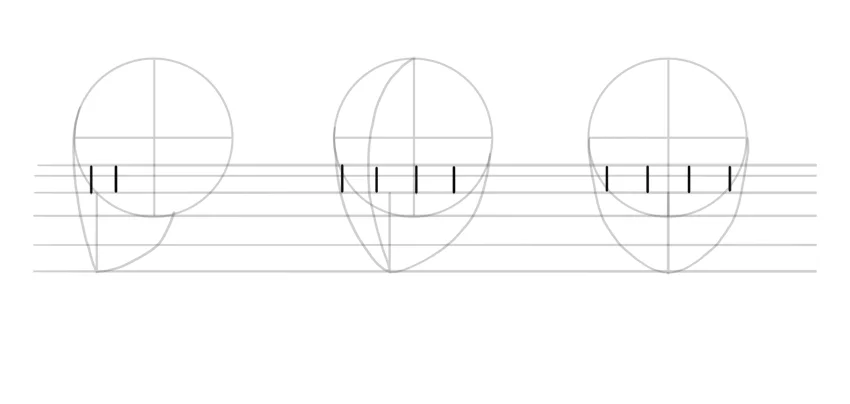
Step 8
Draw the curve of the eye socket. This will help us draw the eyebrows later.
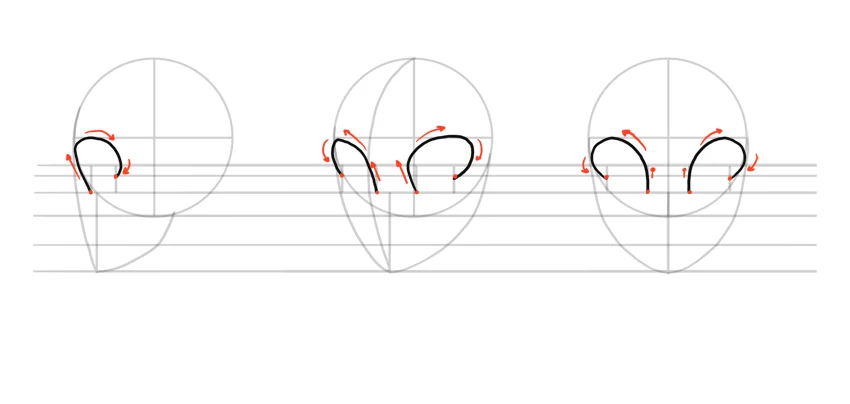
Step 9
Draw the cheeks and the chin. The position of the cheeks is arbitrary (we only need them for their shape), but it’s safe to put them around half of this area’s height.
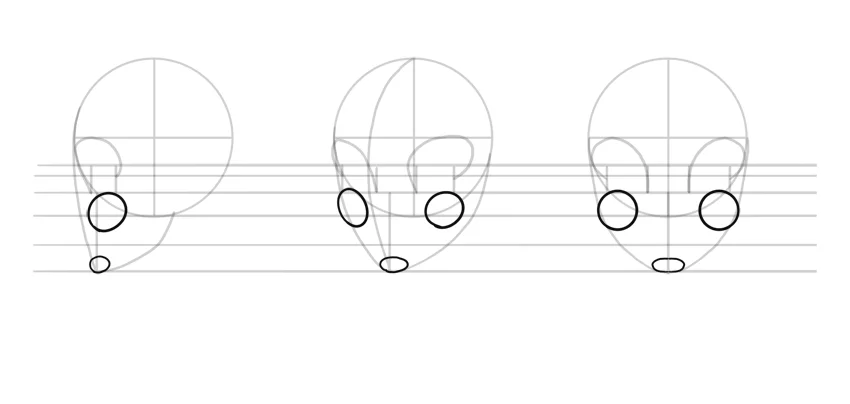
Your generic Disney head is sketched and ready for details!
Learn also:
This post was created with our nice and easy submission form. Create your post!


