How to Draw a Deer for Kids, Easy Tutorial, 8 Steps, Tutorial by Dawn Darko, United States
Draw a Deer for Kids
STEP 1.
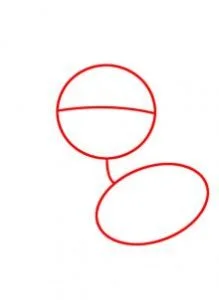
Begin by making a circle for the head and then another shape in the form of an oval. Next, connect the two shapes and then add one face guide.
STEP 2.
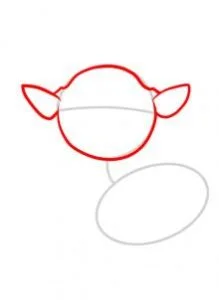
Thicken the shape for the head, and then draw in the base of where the antlers will go, and then two years.
STEP 3.
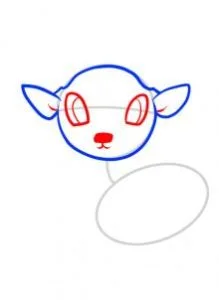
Using the one face guide, draw out some eyes, color in a nose, and then draw in the eyeballs, and mouth. Notice the small area of detail inside of the ears.
STEP 4.
All you have to do here is draw out the antlers, and then move to step five.
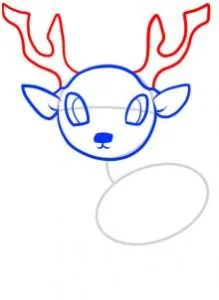
STEP 5.
Look how much you have accomplished already. What you have to do now is draw out the deer’s neck shape and then get going on the body and tail.
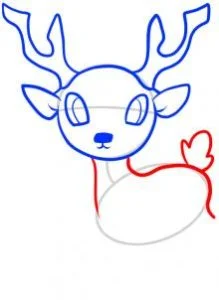
STEP 6.
Draw in the front legs, some of the chests that are visible, and then draw out the belly.
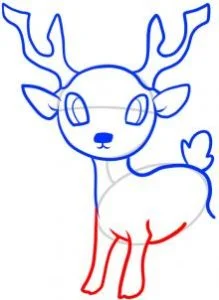
STEP 7.
The last thing to do is draw out the hind legs and then begin erasing the lines and shapes that you drew in step one.
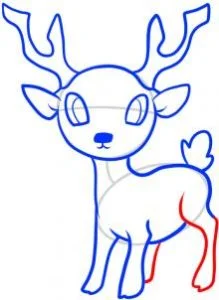
STEP 8.
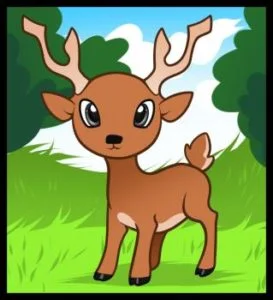
As you can see once the drawing is all complete you will have yourself such an awesome deer and you can say that you drew it by yourself. Color it in and if you want it to look like Bambi, all you have to do is add some white spots and minus the antlers.

Learn more:


