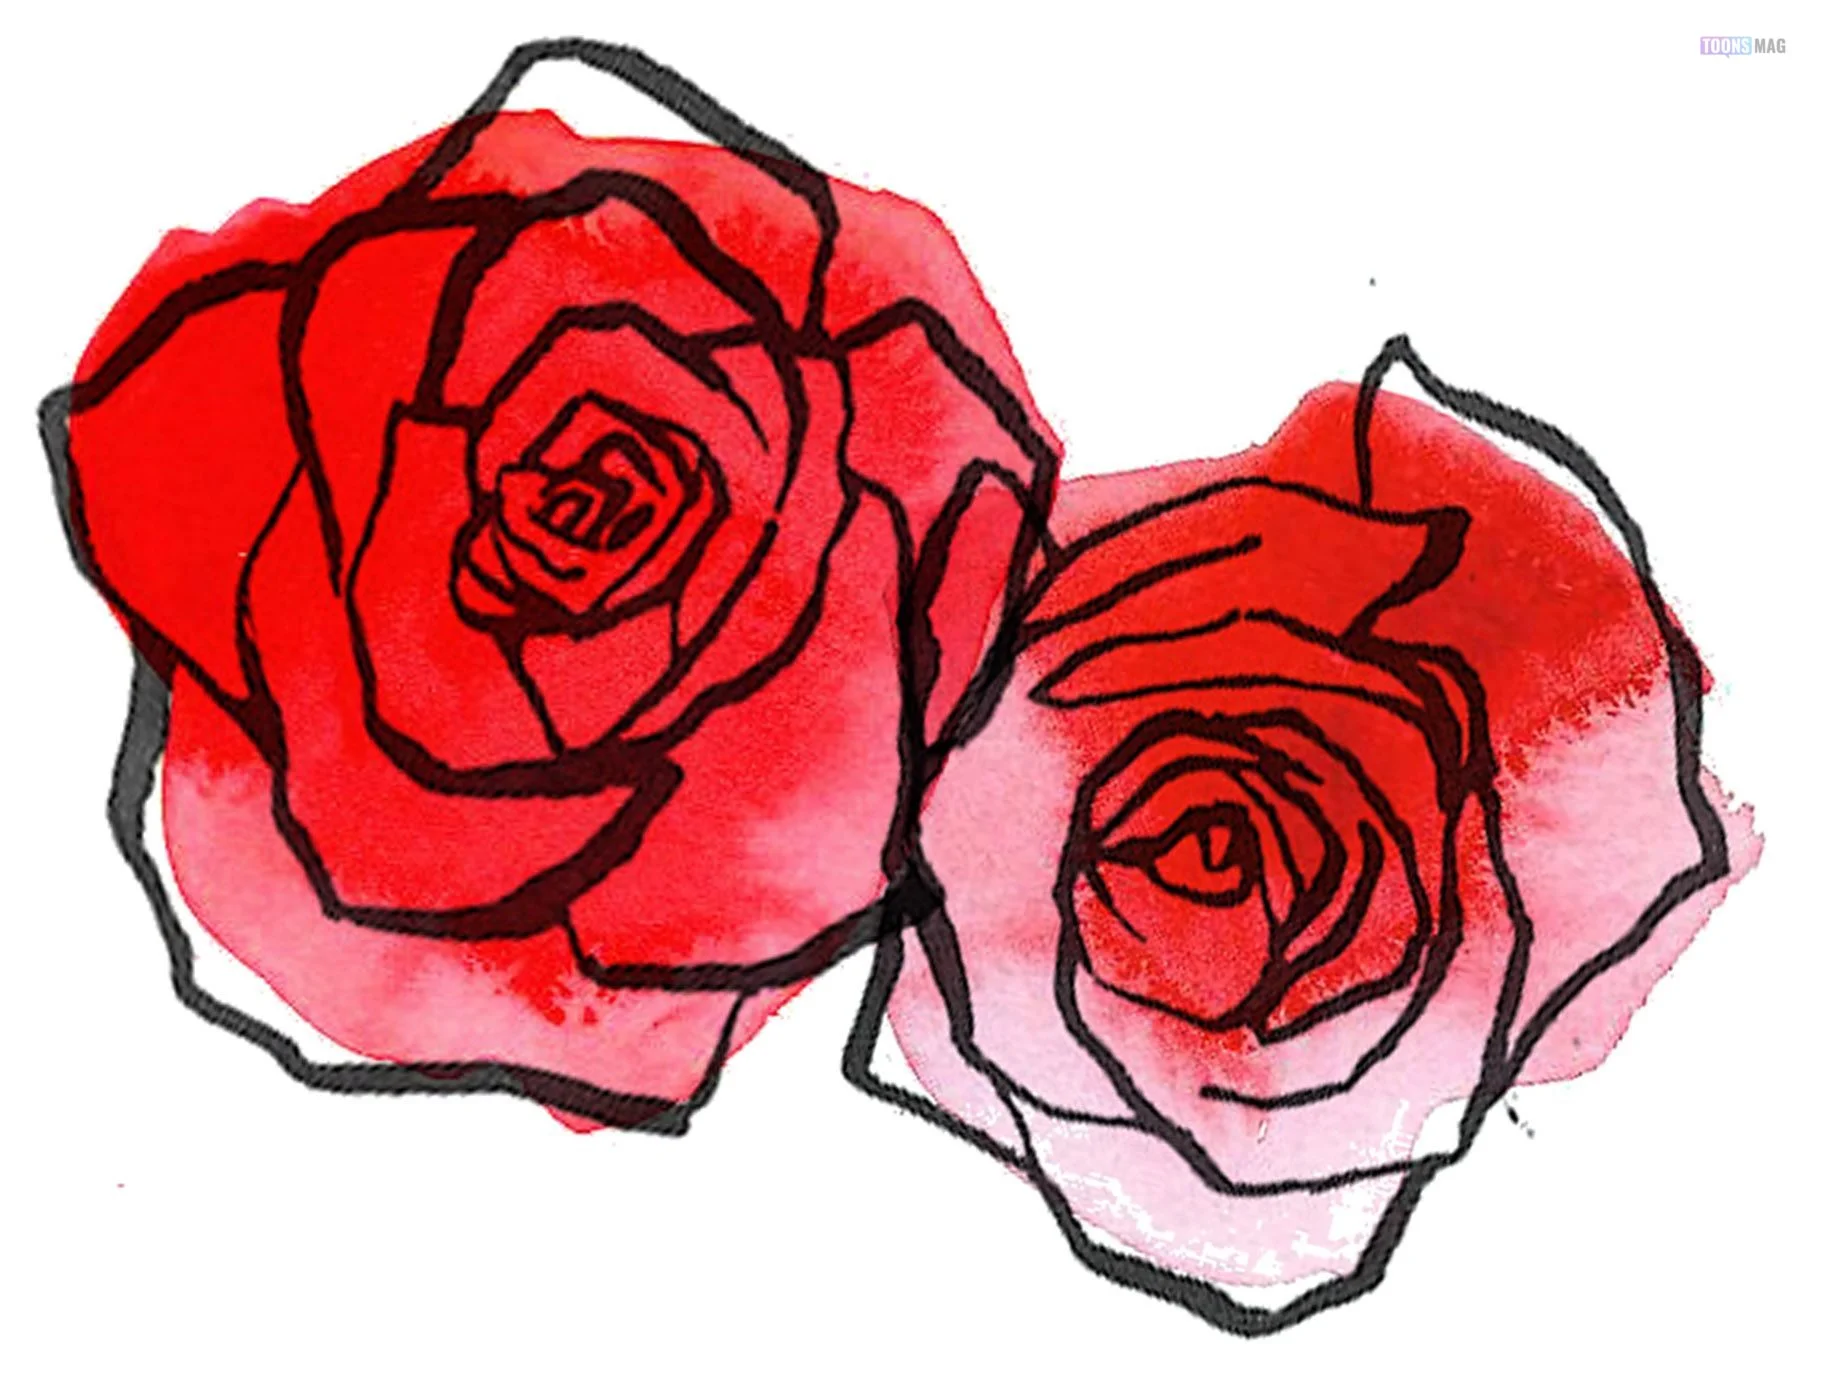
Roses are one of the images that people most want to learn how to draw. Fortunately, they are also one of the easiest. Here’s how to use simple, familiar shapes to draw roses from several different angles. You can be drawing roses for scrapbooking and other crafts in no time.
How to Draw a Rose from the Side
The main shape to think of is a vase. You want a somewhat egg-shaped vase, but with a fluted, open (and opening more) top. You can sketch this lightly in faint pencil by drawing a fat oval, then a line just a bit over the top side (also one of the narrow sides) of the oval. Make the line as long as the oval is wide. Then connect the two ends of the line to the oval, pulling them in a bit to make two arcs.

From that, you’ve got the outline of your rose. Make a teardrop shape that uses one side of the teardrop to be either the right or left side of the rosebud. Now you have made the outside petal of the bloom. You can make a small swirl near the top of the rose to represent all the other petals that get closer and closer together toward the center of the rose. Then you can finish by drawing a sideways “V” that points in the opposite direction as your teardrop petal pointed. This will create the other petal and close up the image of the rose. The top line of the “V” should go over the swirl you made, approximately following the line you sketched earlier until it touches the tip of the teardrop shape. You can add some tighter “V”s at the base of the rose to show the funny green “leaves” that are at the base of the bloom. In case you were wondering, the proper name for those is “sepals”.
How to Draw a Rose from Overhead
This may be even easier than the vase rose for some of you. For this rose, we are drawing it from the view of directly above the rose looking down. The angle is so extreme that you don’t have to worry about perspective at all, and that makes everything easier.
Make a very faint circle that is about the same size as you want your rose bloom to be. At the center of the circle, draw a tiny “V”, but when you get to the end of the “V”, don’t lift your pencil (or pen). Make a very short line that goes at an angle just a bit outside the center of the rose (almost like the “V” shape in a reverse “K”). The line should be very short – no longer than one of the sides of your “V”.

Make the line turn sharply again (you want the hard turn to show how the rose petals intersect near the center of the bloom) to kind of make a hat-like peak over the open part of the “V” shape you started with. Then make one more bent part of the line and connect it to one of the sides of your original “V”.
You should now have a big faint circle and a bunch of sharp lines that kind of collapse in on each other in the center. Now you just draw outward, making row after row of rose petal edges. Each petal should not be wider than a third of the circle, and it should taper back in toward the center of the rose to imitate how rose petals fold in on each other more and more tightly toward the center of the rose.
How to Draw Roses Video Tutorial
This post was created with our nice and easy submission form. Create your post!


